


I would like to post to a topic on AWS IoT using just HTTP(S). So i created a Thing on the IoT console.
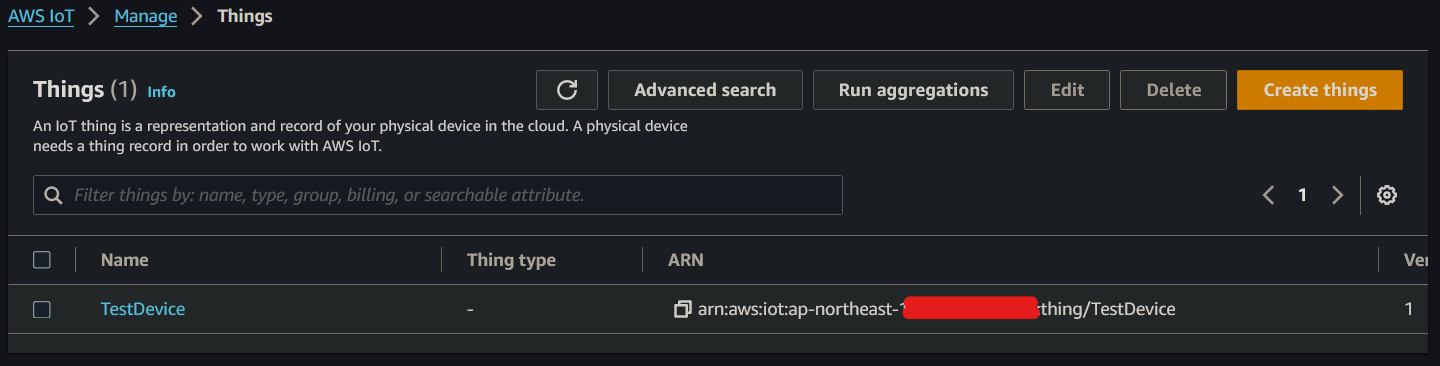
Upon creating the THING i also downloaded all the certificates

Now according to AWS developer guide my endpoint should be (not sure if the last quotation mark is a typo from the development guide)
https://xxx-ats.iot.ap-northeast-1.amazonaws.com/topics/TestTopic?qos=1"
Now i opened the AWS Iot test console and subscribe to a #, which basically mean i should see all incoming post data

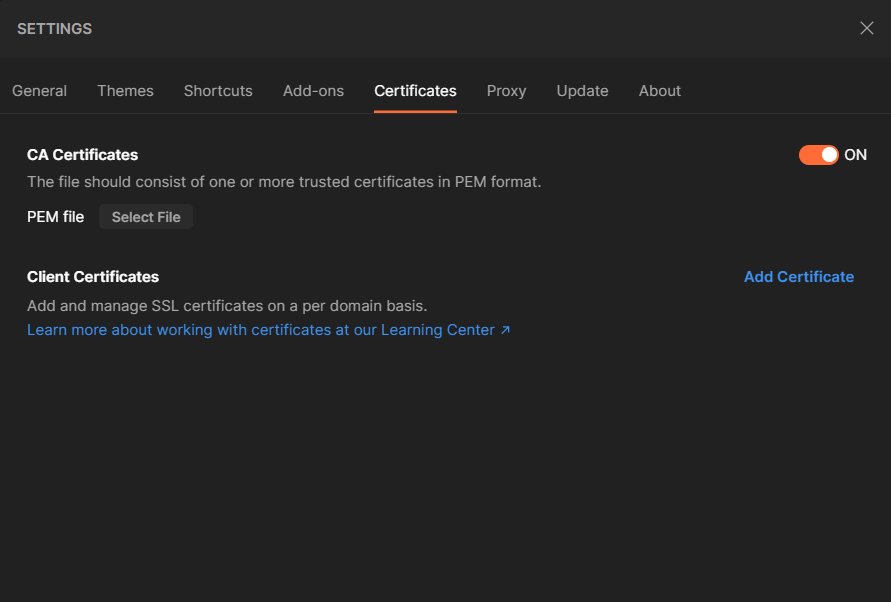
Now my major problem that i could not solve for days now is i dont know how to use the certificates, Im using POSTMAN to test, How do i use these certificates? So that i am able to check if aws is receiving the post request i am making
I found the where to add the certificates in post man but i dont know which ones to use, there were 5 i downloaded. The .crt file seems obvious, for key which one (public or private)?, what is the PFX file?:
2
Answers
To post to a topic on AWS IoT using HTTPS, you will need to configure Postman with the correct client certificates and private key that you obtained when setting up your AWS IoT Thing.
As seen in "Use your Windows or Linux PC or Mac as an AWS IoT device":
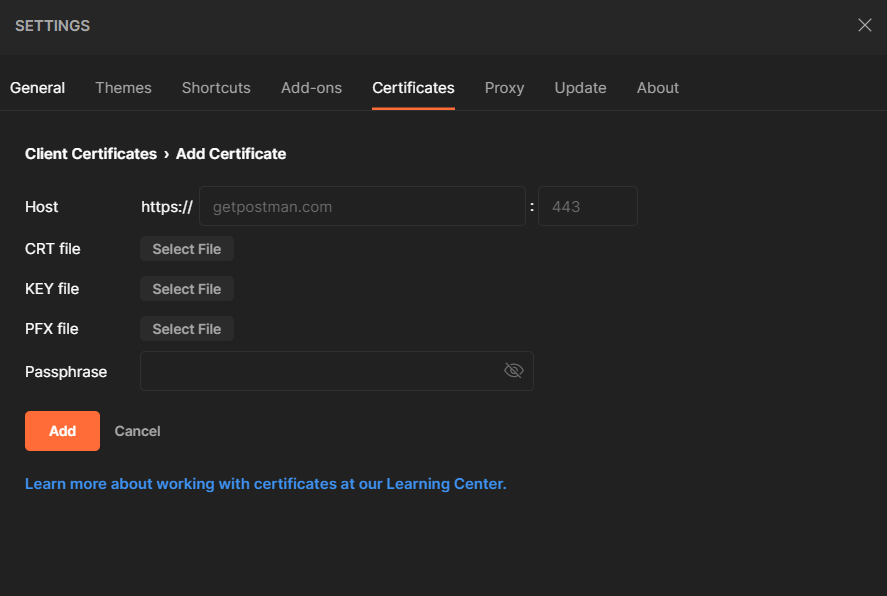
certificate.pem.crtand you should select this file in Postman where it says: "Select CRT file".private.pem.keyand you should select this file in Postman where it says: "Select KEY file".See Postman / Adding client certificates
The PFX file is a type of file that includes both the certificate and the private key, often protected by a password.
AWS IoT does not provide a PFX file by default; you would need to create one from your existing certificate and key if required, but Postman does not need this for connecting to AWS IoT.
If you set a passphrase when creating the private key for your certificate, you will need to enter it here. If you did not set a passphrase, you can leave this blank.
Once you have configured Postman with the CRT and KEY files, make sure your request is set up correctly:
Method: POST
URL:
https://<your-iot-endpoint>/topics/<your-topic>?qos=1Replace
<your-iot-endpoint>with the endpoint provided by AWS IoT and<your-topic>with the topic you want to publish to.Headers: Include any headers required by your endpoint, such as
Content-Type: application/json.Body: Include the message you want to send in the body of the request, formatted appropriately (for example, as a JSON object if you set
Content-Typetoapplication/json).Sending the request in Postman should now publish the message to the specified topic in AWS IoT, and you should be able to see the message in the AWS IoT MQTT test client if you are subscribed to the topic or a wildcard that includes it.
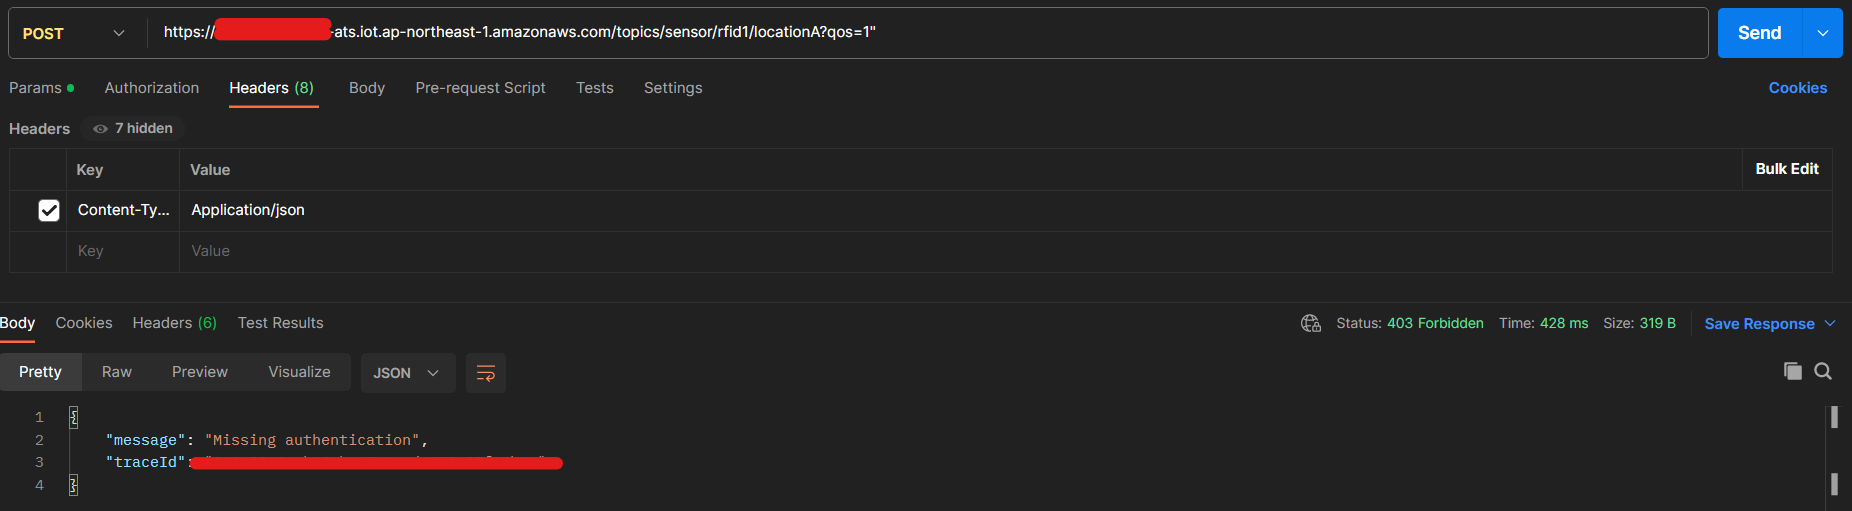
If you encounter a
403 Forbiddenerror, it typically indicates that there is a problem with your authentication or authorization. Check to make sure your certificates are correct, active, and have the necessary policies attached in AWS IoT (at lestiot:Connectandiot:Publish, but alsoiot:Subscribeandiot:Receive).Based on your question (
How to post to a topic on AWS IoT using HTTP(S) POSTMAN) you just want to publish a payload in a specific topic inside the AWS-IoT MQTT broker.This task is very simple and you do not need to create a thing to achieve it or create certificates to be attached to POSTMAN.
This is a simple explanation of the process:
1 – The user get access to the HTTPs endpoint in your case trough POSTMAN.
2 – You can use in your POST body the data you want to publish in your payload. NOTE: you can have a more flexible code that would accept the data you want to publish and the topic you want to publish to. That being said you can send the data and the topic in your POST body.
3 – When you trig the HTTPs endpoint you will call a Lambda. This function will be connected to the API Gateway and will receive the payload that you sent from POSTMAN.
4 – Inside the lambda you will have a connection with the AWS IoT-Core where you will publish the payload that you got from POSTMAN in the desired topic.
In another words, to acompplish this task you will need to understand how to setup an endpoint through API API Gateway and how to create the lambda to connect to the MQTT broker. You can create this architecture in some different ways. I use to do that through SERVERLESS framework.
The important point here is the permission that you need to provide to the lambda to publish in the MQTT broker. Without that permission it will faill.
I will not go in details on how to create a HTTPs endpoint with SERVERLESS because that was not the question. The following code shows how to set a HTTPs endpoint to a lambda called
fnPublishMqttand what is theRoleStatementsto allow that lambda the credentials to publish in the AWS IoT-Core MQTT broker.The next step is the lambda itself using NodeJS SDK V3:
Then just go to your POSTMAN call the endpoint
https://xxxxxxx/publishmqttpassing the following POST body{topic:"topic/tes",payload: {status:74648}You should be able to see
{topic:"topic/tes",payload: {status:74648}published in your AWS IoT-Core MQTT broker.