skip to Main Content

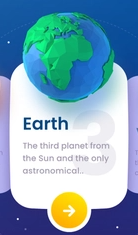
I am reproducing the design from the following image:

reference design

Code:

import 'package:flutter/material.dart';

class PlanetBox extends StatelessWidget {
  const PlanetBox({super.key});

  @override
  Widget build(BuildContext context) {
    return Container(
        margin: const EdgeInsets.all(10),
        padding: const EdgeInsets.all(10),
        width: 200,
        height: 300,
        decoration: BoxDecoration(
          color: Colors.white,
          borderRadius: BorderRadius.circular(50),
        ),
        child: Column(children: [
          Image.asset('assets/images/planets/1_sun.png',
              alignment: Alignment.topCenter),
          const SizedBox(height: 20),
          const Text(
            "Sun",
            textAlign: TextAlign.left,
            style: TextStyle(fontSize: 25, fontWeight: FontWeight.bold),
          ),
          const SizedBox(height: 5),
          const Text(
            "The Sun is the star at the center of the Solar System. It is a nearly perfect ball of hot plasma, heated to incandescence by nuclear fusion reactions in its core.",
            textAlign: TextAlign.left,
            style: TextStyle(fontSize: 15),
          )
        ]));
  }
}

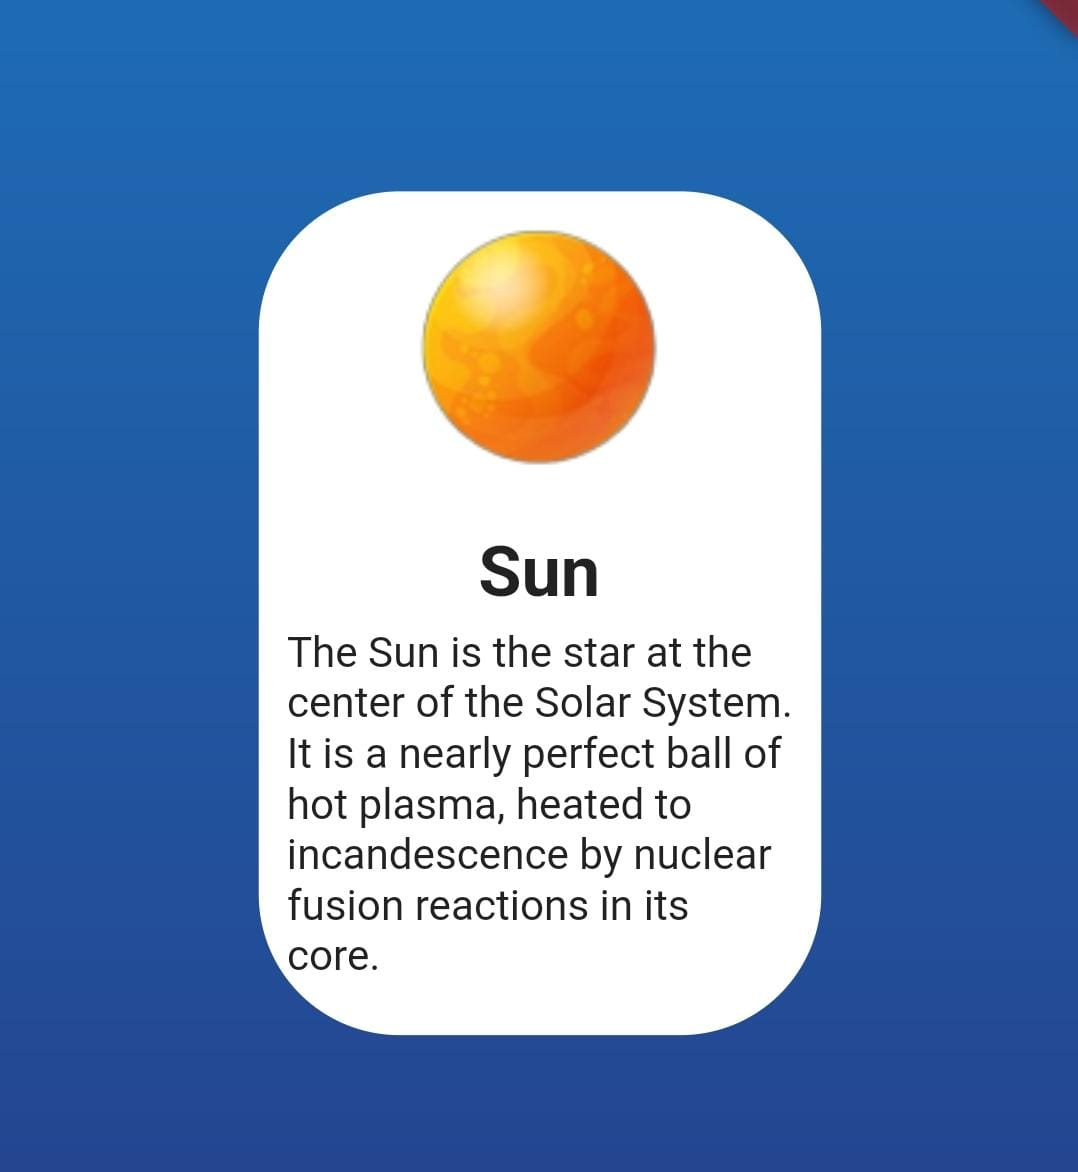
currently, my planet image is inside the box decoration

current design

How can I change the position of the planet image (assets/images/planets/1_sun.png) and also add a background text (light grey 3 on the right side in reference design) in a container?

2

Answers


  1. You can add some background text by using a Stack Widget to place the children of the Container on top of each other like the following:

    class PlanetBox extends StatelessWidget {
      const PlanetBox({super.key});
    
      @override
      Widget build(BuildContext context) {
        return Container(
          margin: const EdgeInsets.all(10),
          padding: const EdgeInsets.all(10),
          width: 200,
          height: 300,
          decoration: BoxDecoration(
            color: Colors.white,
            borderRadius: BorderRadius.circular(50),
          ),
          child: Stack(
            children: [
              Positioned(
                bottom: 40,
                right: 20,
                child: Text(
                  "3",
                  style: TextStyle(fontSize: 90, color: Colors.grey.withAlpha(100)),
                ),
              ),
              Column(
                children: [
                  Image.asset('assets/images/planets/1_sun.png', alignment: Alignment.topCenter),
                  const SizedBox(height: 20),
                  const Text(
                    "Sun",
                    textAlign: TextAlign.left,
                    style: TextStyle(fontSize: 25, fontWeight: FontWeight.bold),
                  ),
                  const SizedBox(height: 5),
                  const Text(
                    "The Sun is the star at the center of the Solar System. It is a nearly perfect ball of hot plasma, heated to incandescence by nuclear fusion reactions in its core.",
                    textAlign: TextAlign.left,
                    style: TextStyle(fontSize: 15),
                  ),
                ],
              )
            ],
          ),
        );
      }
    }
    

    In this example the "3" is rendered similar to your reference picture.

    And of course you could also add another Positioned widget for your image to position it with a distance to a corner.

    Login or Signup to reply.
  2. Your major concern is for you to position your planet image?
    So, you can do that simply by wrapping your card widget in Stack widget and then add the image with a Positioned widget to which you can give it a negative property and you will be good to go.

    Stack(    
    children: [
    ... (Your card widget with the plane info)
    Positioned(
      top: -40,
      right: 25.0,
      child: Image.network(
      'https://th.bing.com/th/id/OIP.iKEdZsVGxxPHhKA9pJ1gHgHaHZ?pid=ImgDet&rs=1',
      height: MediaQuery.sizeOf(context).height * 0.25,
      alignment: Alignment.topCenter)),
      ]),


    Using Niko’s code from above, I made a few changes and implemented the pageview builder. You can check the whole code here

    Login or Signup to reply.
Please signup or login to give your own answer.
Back To Top
Search