


I’m currently working on a WordPress plugin development project in PHP, where I’ve created several shortcodes to implement different functionalities, like a login page, an unauthorized page, and a dashboard. To navigate to these functionalities, I’ve created pages with the corresponding shortcodes.
I’ve successfully created these pages using the following code in my activation hook:
function my_plugin_activation() {
    $pageData = array(
        'post_title' => 'Dashboard',
        'post_content' => '[dashboard]', // shortcode
        'post_status' => 'publish',
        'post_type' => 'page',
        'post_name' => 'dashboard',
    );

    // Insert the new page
    $pageId = wp_insert_post($pageData);
}
register_activation_hook(__FILE__, 'my_plugin_activation');
As a result, after activating the plugin, WordPress automatically adds these pages to the header menu. However, I would like to achieve two specific goals:
- Hide the menu items for "Dashboard" and "Unauthorized" pages.
- Hide the pre-login menus and show only menu items which is associated with post-login functionalities, which might include "Dashboard," "Profile," and "Logout."
Could someone provide code-level solutions to achieve these objectives within the plugin’s activation block, ensuring that these changes work automatically for anyone using the plugin?
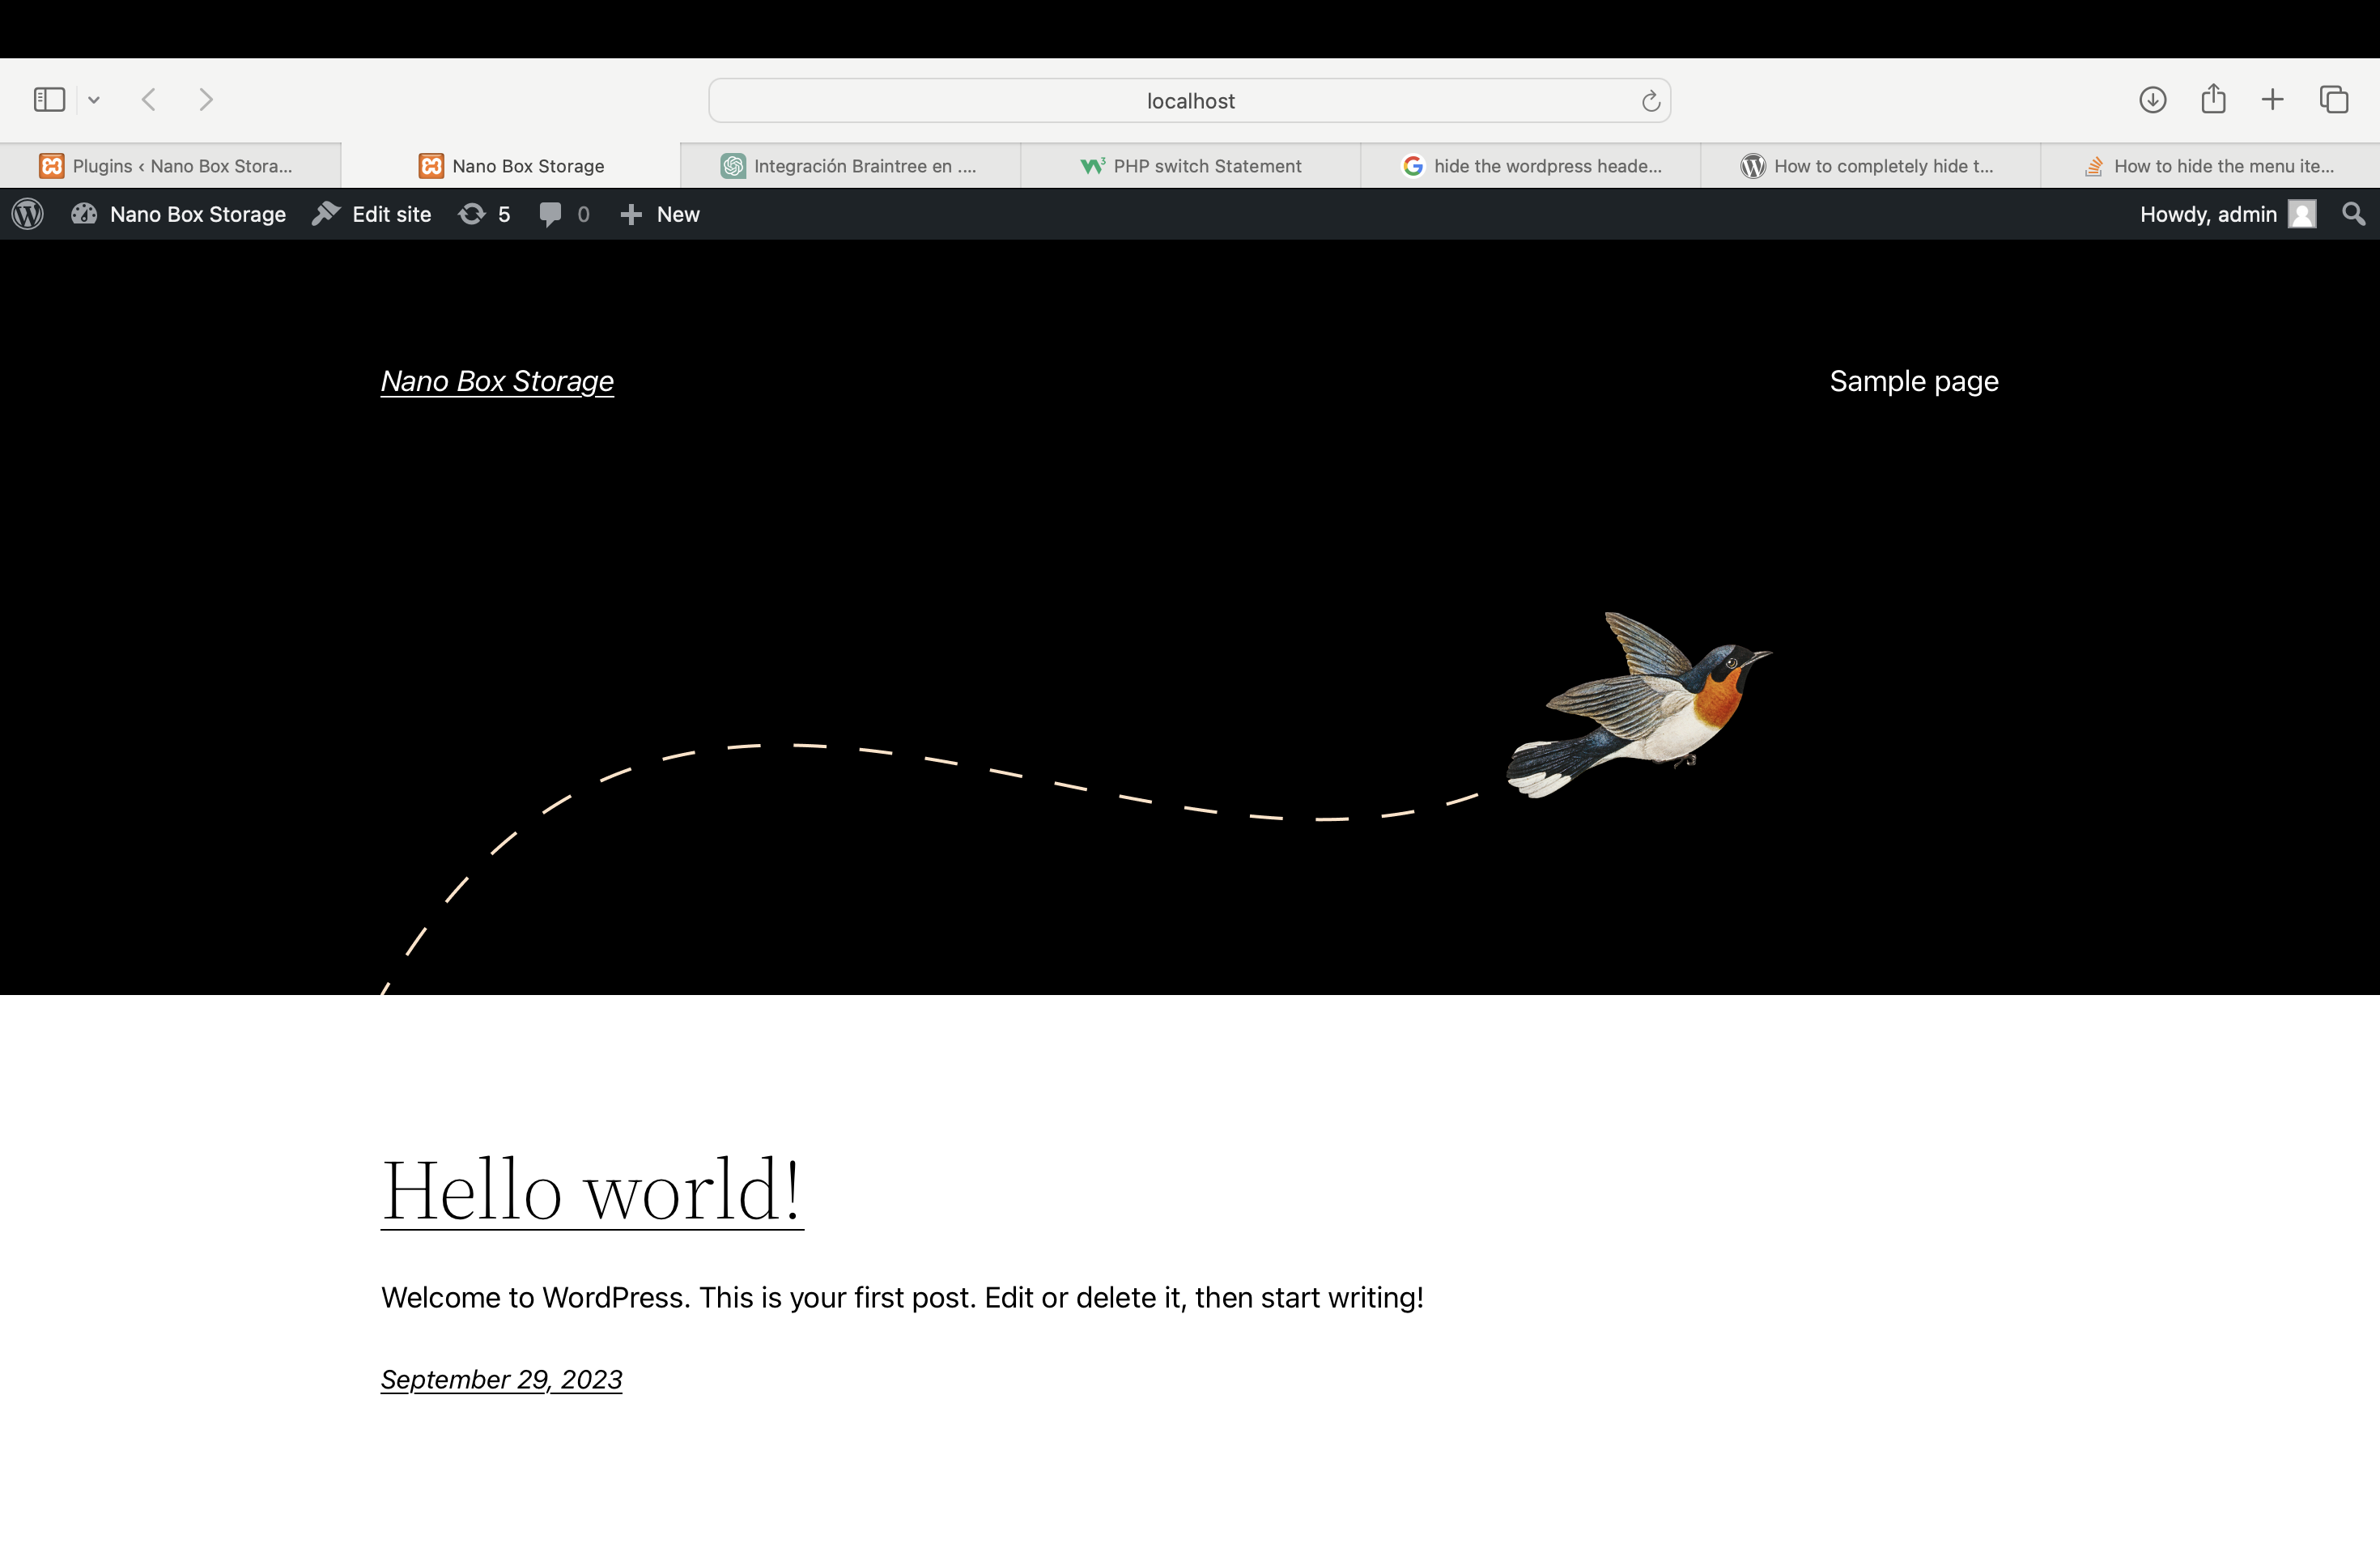
Before Plugin Activation:
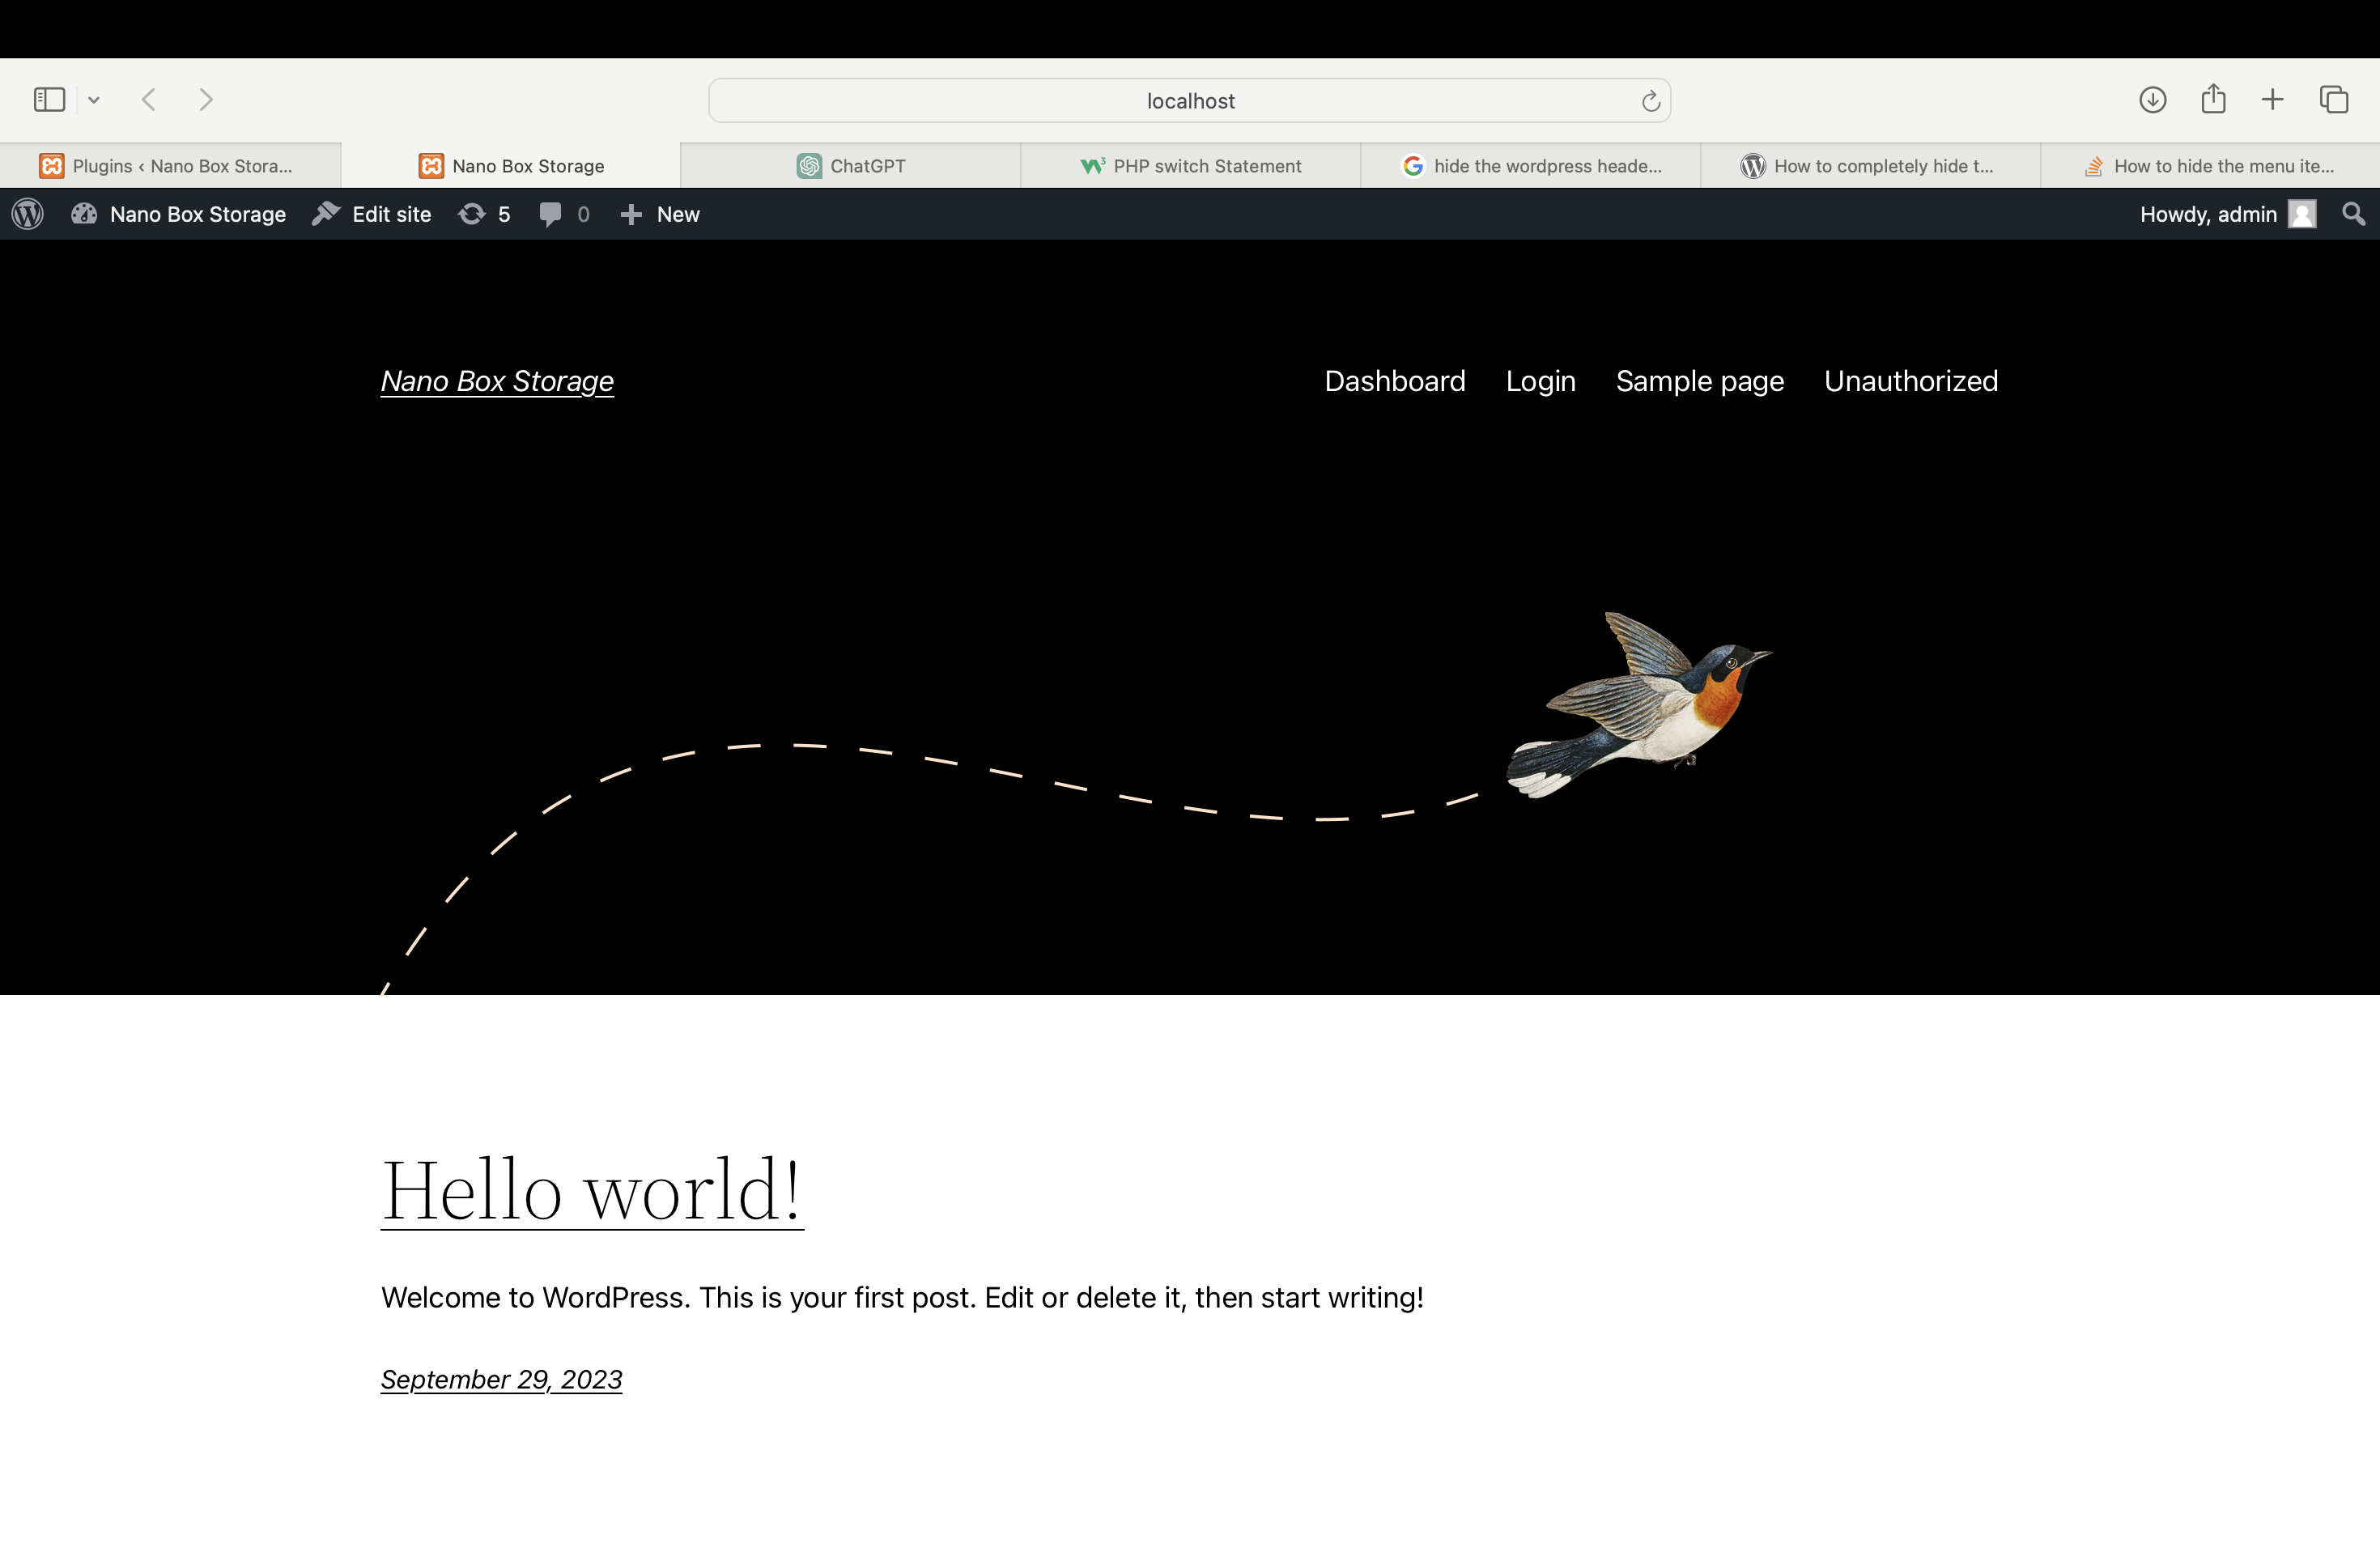
After Plugin Activation:
I have tried following code, but nothing works
Approach #1:
// If the page should not be linked to any menu
// Remove it from the default header menu
$menu_name = 'twentytwentytwo'; // Replace with the name of your menu
$menu = wp_get_nav_menu_object($menu_name);

if ($menu) {
    $menu_id = $menu->term_id;

    // Find and remove the page from the default menu
    $menuItems = wp_get_nav_menu_items($menu_id);
    foreach ($menuItems as $menuItem) {
        if ($menuItem->object_id == $pageId) {
            wp_delete_post($menuItem->ID);
        }
    }
}
Approach #2:
function my_plugin_activation() {
    $pageData = array(
        'post_title' => 'Dashboard',
        'post_content' => '[dashboard]', // shortcode
        'post_status' => 'publish',
        'post_type' => 'page',
        'post_name' => 'dashboard',
    );

    // Insert the new page
    $pageId = wp_insert_post($pageData);

    // Register a function to modify the menu items
    add_filter('wp_nav_menu_objects', 'my_remove_menu_items');
}
register_activation_hook(__FILE__, 'my_plugin_activation');


function my_remove_menu_items($items) {
    // Menu item slugs to be removed
    $menu_item_slugs = array('dashboard'); // Replace with actual slugs

    foreach ($items as $key => $item) {
        if (in_array($item->post_name, $menu_item_slugs)) {
            unset($items[$key]);
        }
    }

    return $items;
}
2
Answers
Finally I found the answer!
In WordPress, the
post_statusfield is used to define the current status of a post or page.Private (
private):So, using this option we can solve the scenario which is explained in the question.
Resultant Code:
To hide menu items in WordPress after creating pages with shortcodes, follow this succinct strategy:
Create a Page with Shortcode: First, create the pages you want to display in your menu, each with the corresponding shortcode. Shortcodes are typically used to embed dynamic content, so these pages may not need to be directly accessible from the menu.
Access the Menu Editor:
Navigate to your WordPress dashboard.
Go to "Appearance" and select "Menus."
Add Custom Link:
In the Menu Editor, click "Custom Links" on the left.
In the URL field, add a "#" symbol. This creates a placeholder link.
In the Link Text field, enter the name you want for the menu item (e.g., "Hidden Page").
Click the "Add to Menu" button.
Organize the Menu:
Rearrange your menu items as needed.
To make the "Hidden Page" a child item of a visible menu item, drag it slightly to the right beneath the parent item.
Save the Menu:
Don’t forget to save your menu.
Modify Shortcode Visibility:
If you want to make the hidden pages accessible through the shortcode, you can modify the shortcode’s behavior to display the content conditionally. For example, you can use a plugin like "Conditional Blocks" or add PHP conditions to your shortcode to determine when the content should be visible.
By following these steps, you can effectively hide menu items in WordPress while still being able to access the corresponding pages via shortcodes or other conditional display methods.